📅 Last updated on January 14, 2026
What Are Cherry Nails?
Cherry nails are the sweetest nail trend of the year. From soft pastels with tiny cherries to glossy black cherry nail polish, this look is everywhere on Pinterest and Instagram. Whether you want simple cherry nails for daily wear or bold cherry nail art for a night out, there’s a design for every vibe.
In this guide, you’ll find 10 cherry nail ideas with plenty of inspiration. From cherry manicure tips to playful cherry nail designs, this post covers everything you need to try the trend yourself.
10 Cherry Nail Ideas
Why Are Cherry Nails So Popular?
The cherry nail trend has gained popularity because it blends fun and style effortlessly. Here’s why people love them:
- Cute and Versatile: The cherry design is lighthearted and fits with any vibe, from casual outings to formal events.
- Pop of Color: Cherries bring vibrant red and green tones, making your nails stand out.
- Easy to Customize: You can keep it simple with minimal cherry accents or go bold with a full cherry-themed manicure.
Whether you’re a nail art pro or a beginner, cherry nails are a fantastic way to showcase your creativity.
Stay tuned for some image inspiration below!
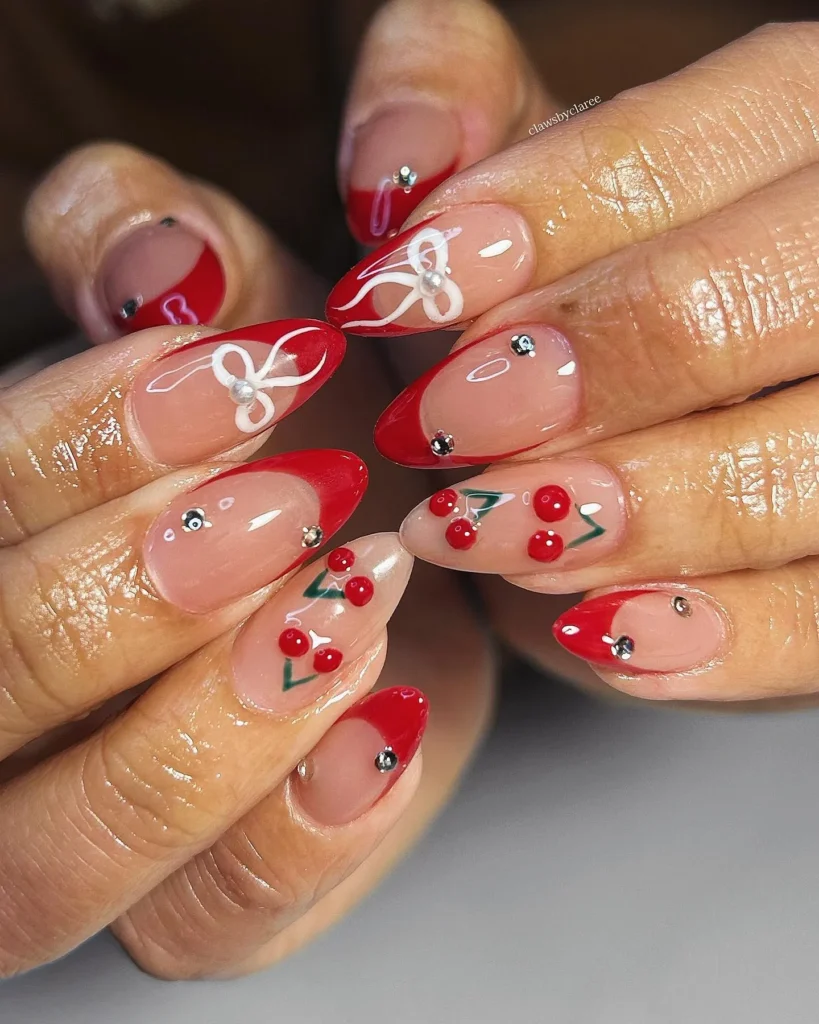
1. Simple Cherry Nails for Everyday Wear
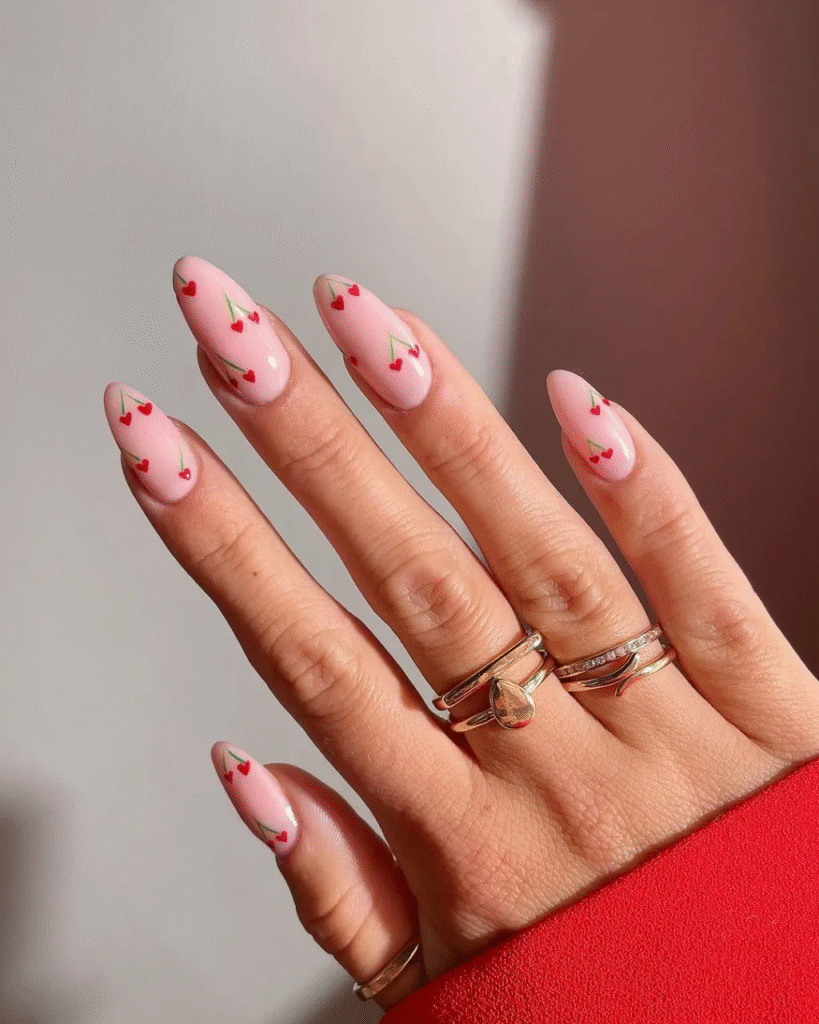
Not every manicure has to be dramatic. Simple cherry nails are perfect if you like minimal designs. Picture a nude or pale pink base with tiny cherry decals — chic but playful. This look works especially well on short nails, making it practical for everyday life.
You can get this look by using nail stickers or drawing small cherries with a dotting tool. Add a thin layer of glossy topcoat, and your nails will stay fresh for days. These simple cherry nail designs also pair beautifully with casual outfits like white T-shirts, jeans, or light summer dresses.
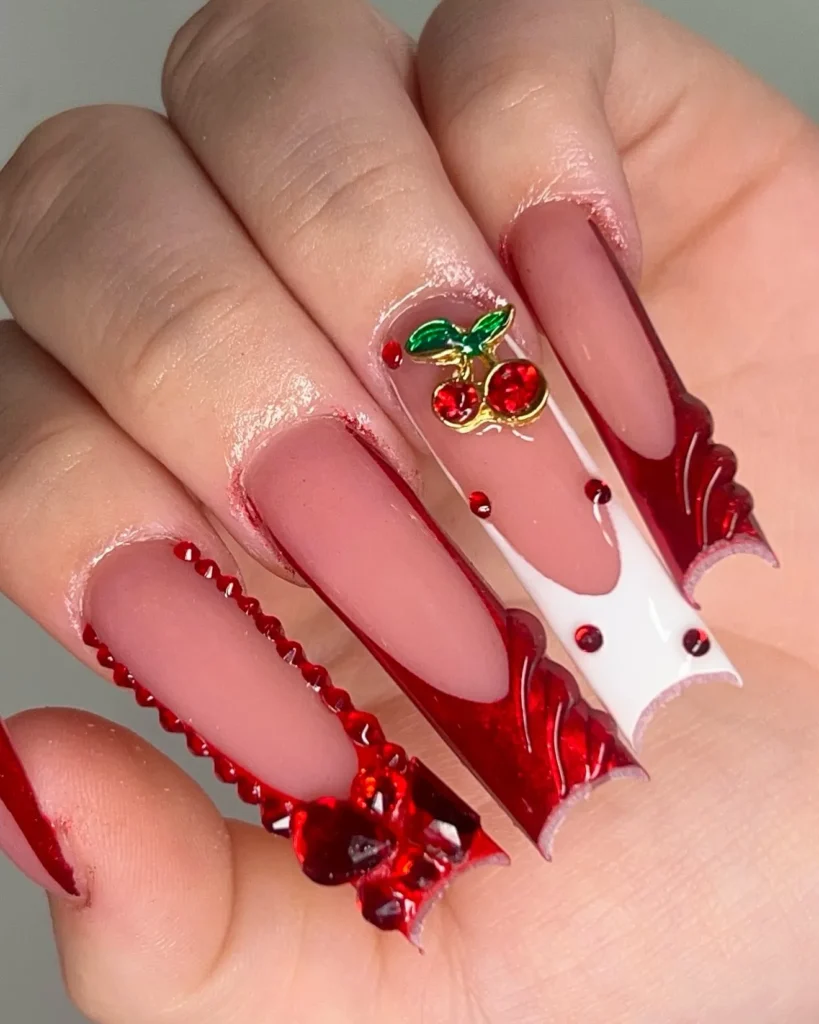
2. Cute Cherry Design Nails for Summer
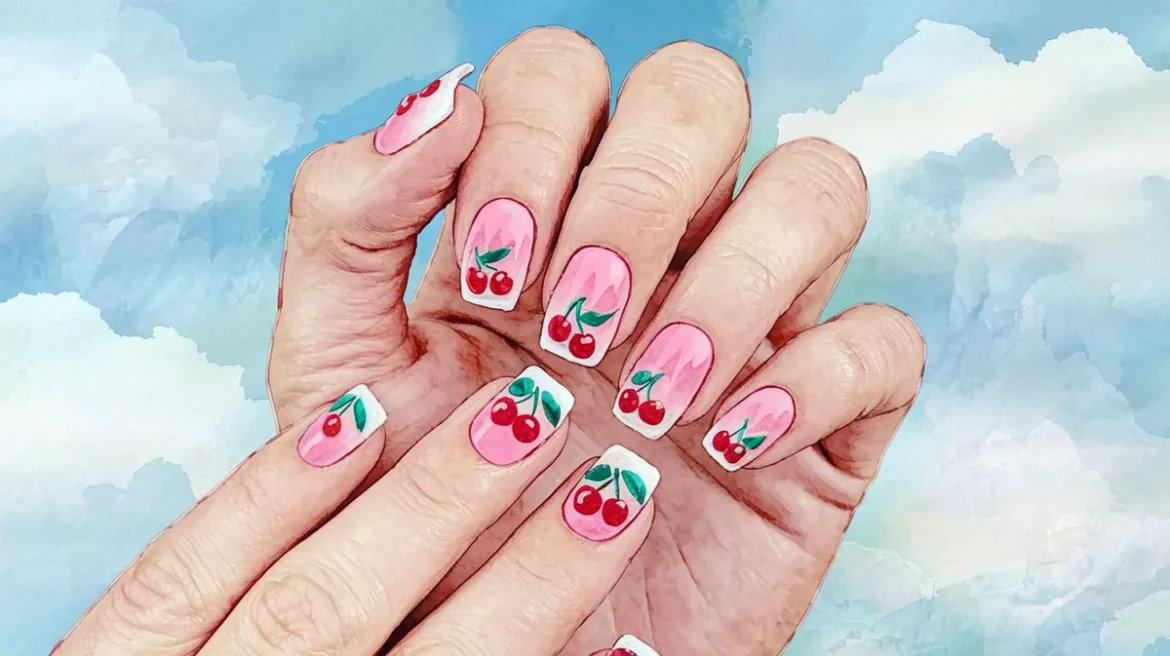
Summer and cherries go hand in hand. Cherry design nails instantly give a fruity, fun vibe. The key is to mix bright red cherries with soft pastel backgrounds like mint green, baby blue, or lavender.
This style works best when the cherries are scattered across each nail — not too crowded but noticeable. You can also combine cherries with other fruit designs for a playful twist. For vacations or festivals, these cherry nail designs bring out the sunny energy of the season.
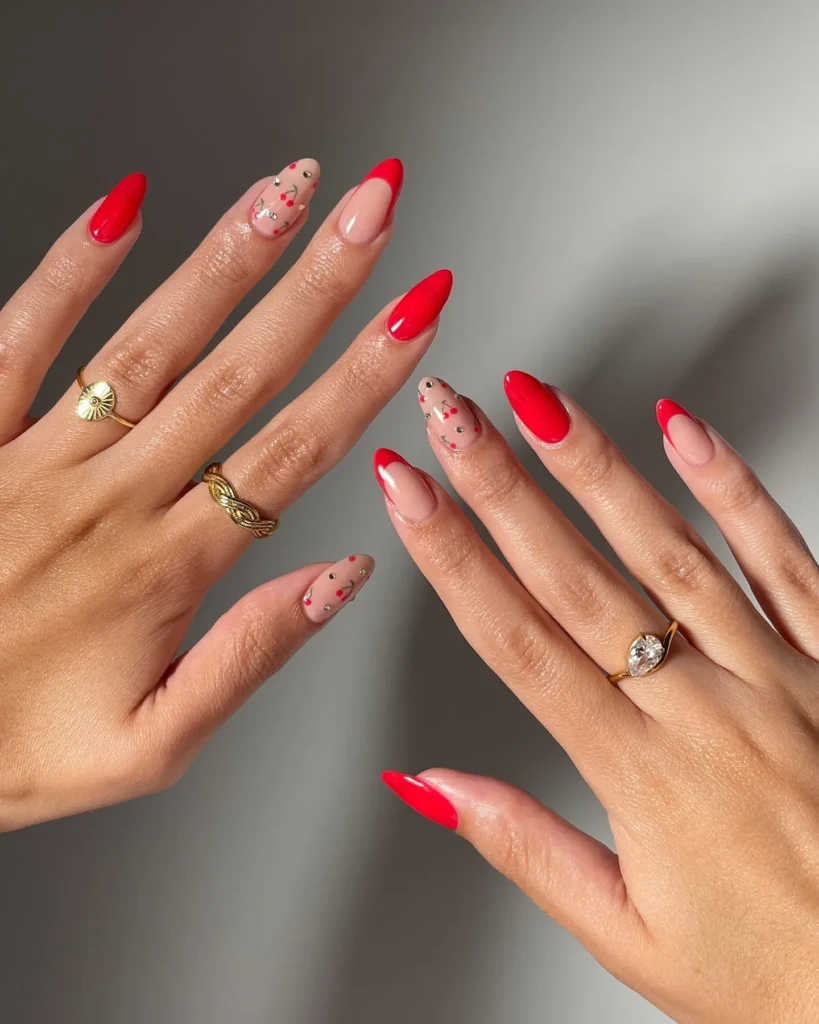
3. Cherry Nail Designs on Short Nails
Many think you need long nails for detailed art, but that’s not true. Cherry nail designs look amazing on short nails. A clear or nude base makes the red cherries pop even more.
Short nails with cherry nail art are low-maintenance, easy to style, and professional enough for work. If you want variety, try alternating between cherry patterns and solid red nails. This mix keeps your manicure stylish while still simple.
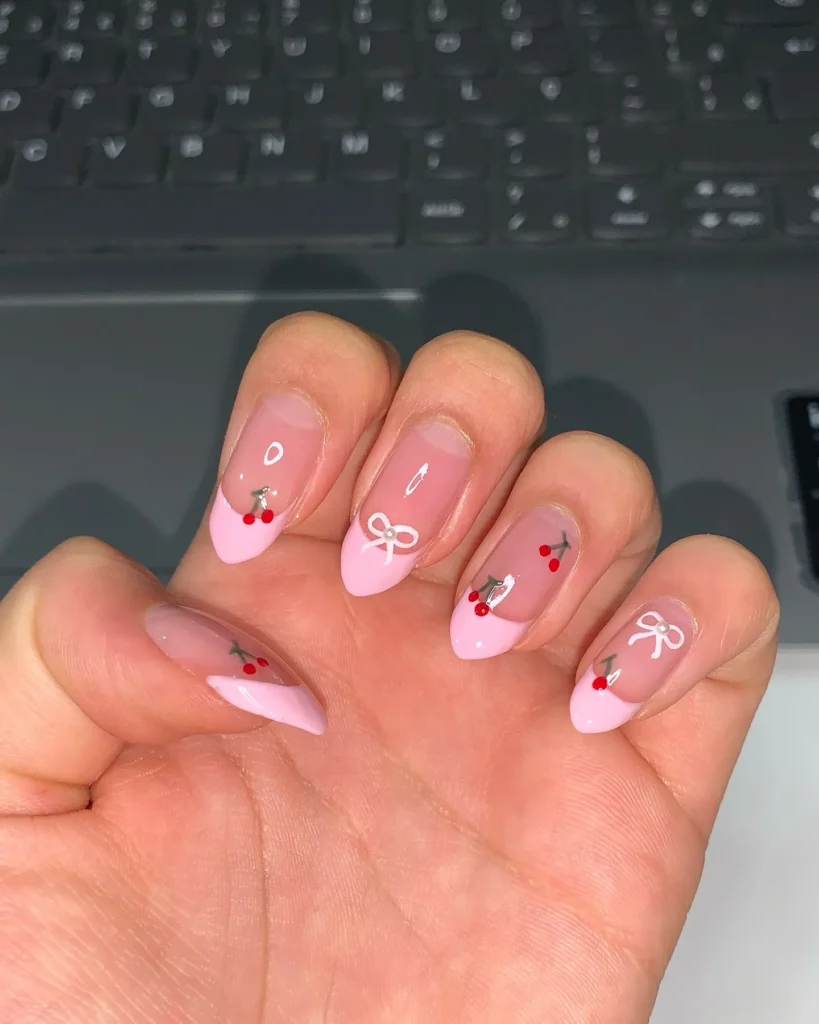
4. Black Cherry Nail Polish: A Bold Option
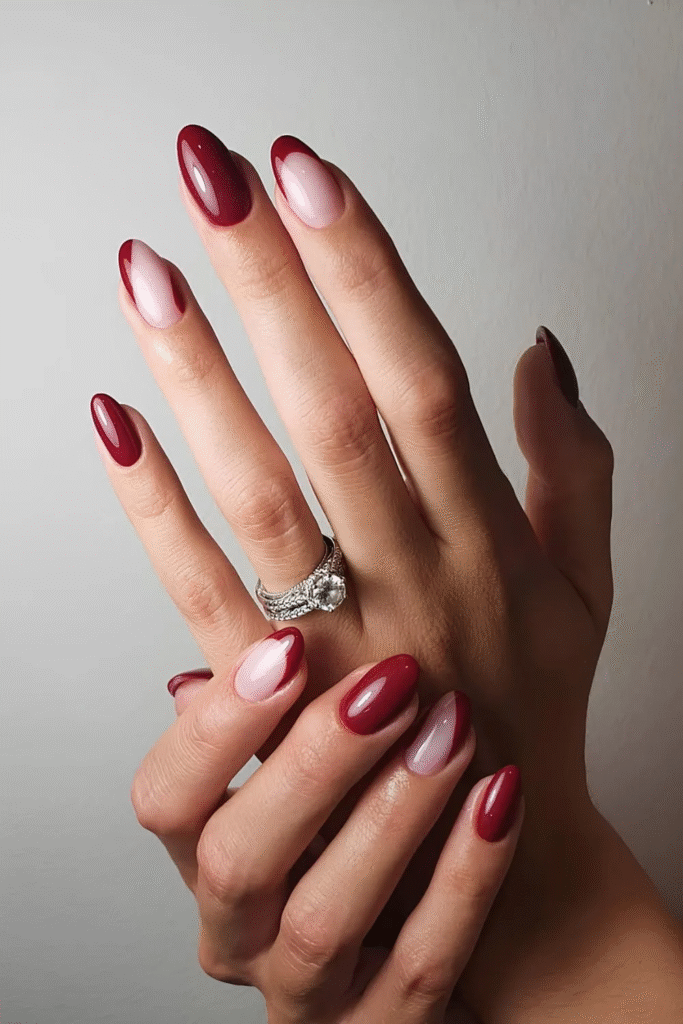
Not all cherry-inspired nails are sweet and pastel. Black cherry nail polish is a stunning choice for those who prefer a darker aesthetic. The deep burgundy shade mimics the richness of ripe cherries and works beautifully for fall and winter.
You can wear it as a standalone polish or combine it with subtle cherry accents for a unique twist. Pairing black cherry nail polish with glossy topcoat creates a classy finish that goes with both casual and formal outfits.
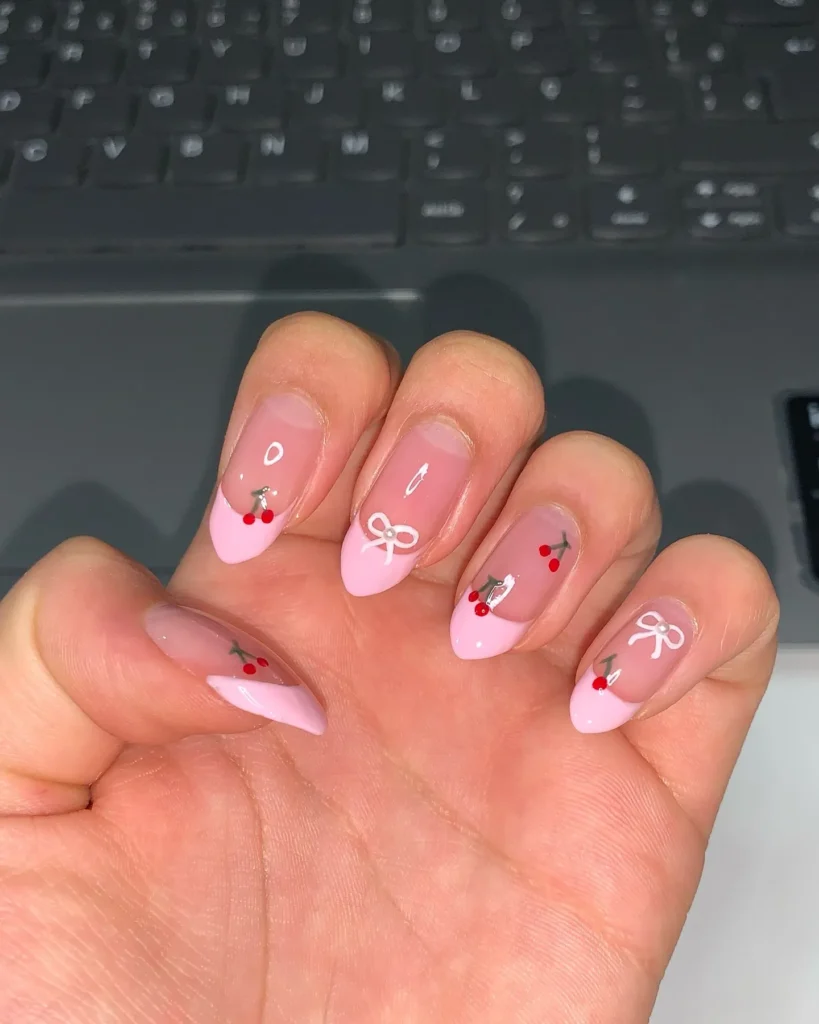
5. Cherry Manicure with French Tips
French manicures never go out of style, but they get an upgrade with a cherry twist. A cherry manicure with French tips usually features a nude or pink base, white tips, and tiny cherries added along the smile line.
This style is perfect if you love elegant nails with a touch of fun. You can keep it minimal with one or two cherries on each hand or go all out with cherries on every nail. The result is a playful yet chic look that makes your hands stand out.
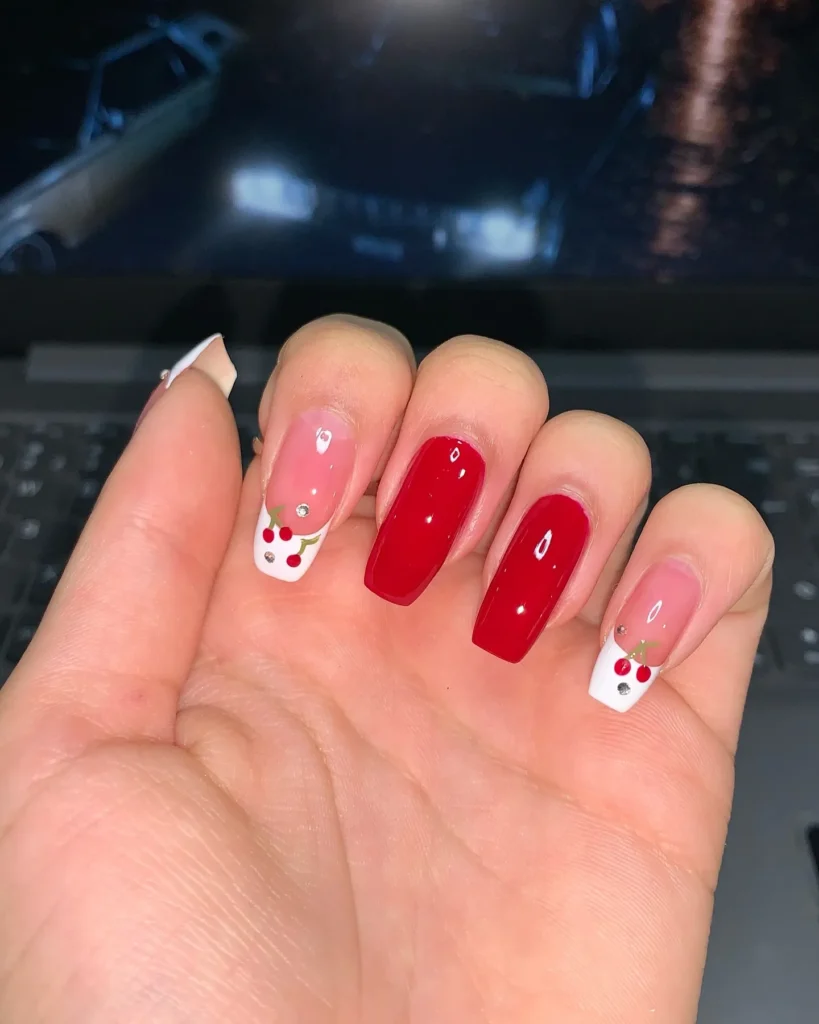
6. Cherry Nail Art with Glitter
If you love sparkles, try adding glitter to your cherry nail art. A soft glitter base (gold, silver, or even pink) makes the cherries stand out more. You can either coat all nails with glitter and add cherry decals on top, or pick one accent nail for the glitter and leave the rest simple.
This design is perfect for parties, weddings, or nights out. Glitter adds dimension while cherries keep it playful. Pair it with a bold red lip or a metallic outfit to complete the look.
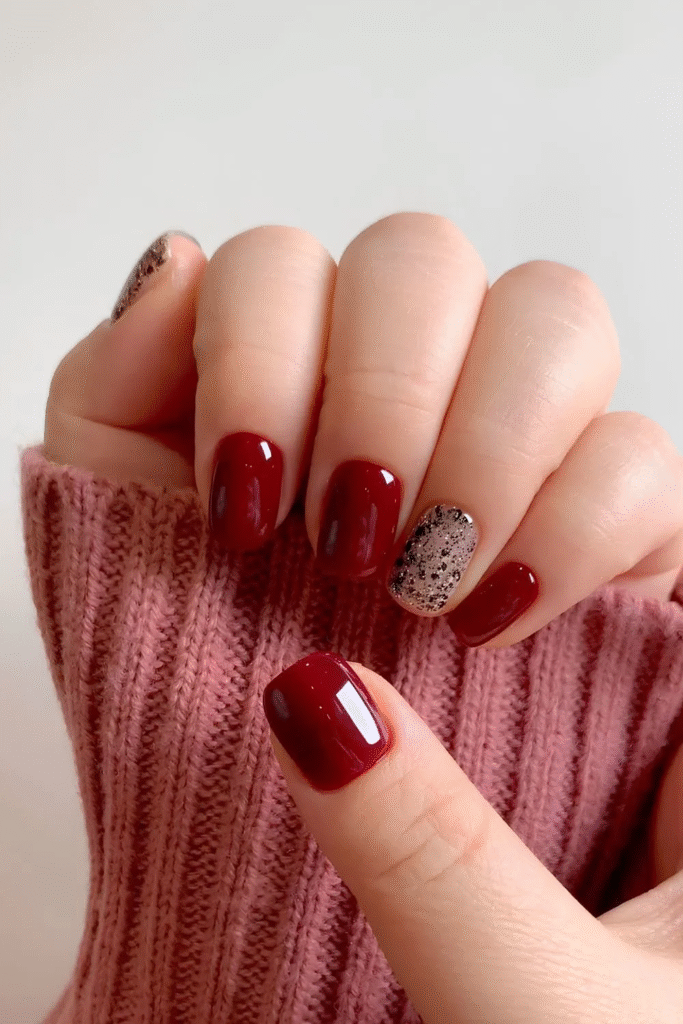
7. Minimalist Cherry Nail Design
For those who prefer understated nails, a minimalist cherry nail design is the way to go. Think: a single cherry on each ring finger, leaving the other nails painted nude or soft pink.
This style is subtle yet trendy, giving you a polished look without too much detail. It’s perfect for work, school, or anyone who wants a balance between fun and professionalism. The best part? You can easily DIY this look at home with a small brush and two nail polish colors (red and green).
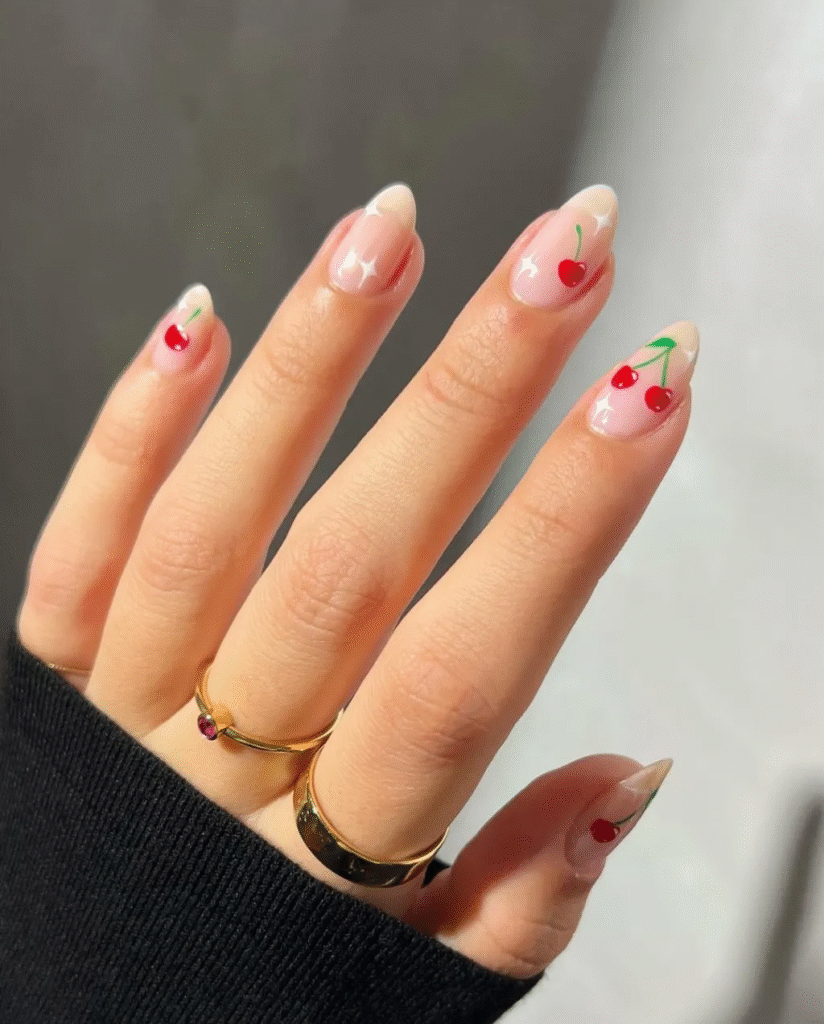
8. Cherry Nail Designs with Pastel Bases
Cherries look extra cute on pastel backgrounds. Lavender, sky blue, mint green, and pale yellow all make the red cherries pop. These cherry nail designs are especially popular in spring and summer, when light colors dominate fashion trends.
To make your nails look Pinterest-ready, paint each nail a different pastel shade, then add small cherry clusters on top. This style is colorful, youthful, and a guaranteed compliment-getter.

9. Cherry Manicure with Accent Nails
Accent nails are an easy way to spice up your look without too much effort. A cherry manicure with accent nails might feature one or two nails decorated with cherries while the rest are painted solid red or nude.
This is great for beginners who want to try cherry nail art without committing to all ten nails. You can also mix in glitter or French tips for more variety. Accent nails make your manicure look intentional and stylish, even if you keep it simple.
10. Trendy Cherry Nail Designs for Long Nails
Long nails give you more space to get creative. Cherry nail designs on long almond, stiletto, or coffin-shaped nails allow for bigger and bolder art. You can try 3D cherries made with rhinestones, gradient bases, or detailed cherry vines climbing across the nails.
For a dramatic effect, combine black cherry nail polish with red cherry accents. This mix of dark and bright colors creates a striking contrast. Long nails are perfect if you want your cherry manicure to stand out on Instagram or Pinterest.
🍒 Extra Tips for a Perfect Cherry Manicure
- Base coat matters: Always start with a strong base to protect your nails and make colors last longer.
- Tiny brush or dotting tool: Essential for drawing cherries neatly.
- Mix and match: Combine cherries with polka dots, glitter, or pastel backgrounds.
- Topcoat: A glossy finish locks in your cherry nail art and prevents chipping.
- Press-on option: If you’re short on time, many shops sell ready-made cherry design nails that look salon-perfect.
❓ Cherry Nails FAQs
Q: Can I do simple cherry nails at home?
Yes! Use a nude base and a dotting tool to create red dots for cherries, then add tiny green stems with a fine brush.
Q: Which polish works best for cherry nail designs?
Glossy red polish is the classic, but black cherry nail polish is trending for fall. Pair it with a shiny topcoat for maximum effect.
Q: Are cherry nails only for summer?
Not at all. While cherry design nails are popular in spring and summer, dark versions like black cherry nail polish work beautifully in autumn and winter.
Q: Do cherry nail designs work on short nails?
Absolutely. In fact, simple cherry nails often look cleaner on shorter nails because the cherries stand out more.
Q: How long does a cherry manicure last?
With proper base and topcoat, your cherry manicure can last 7–10 days without chipping. Gel versions last even longer.
✨ Try out these cherry nail ideas and let your manicure steal the spotlight. Whether you love simple cherry nails or bold cherry nail art, these designs are perfect for refreshing your look.
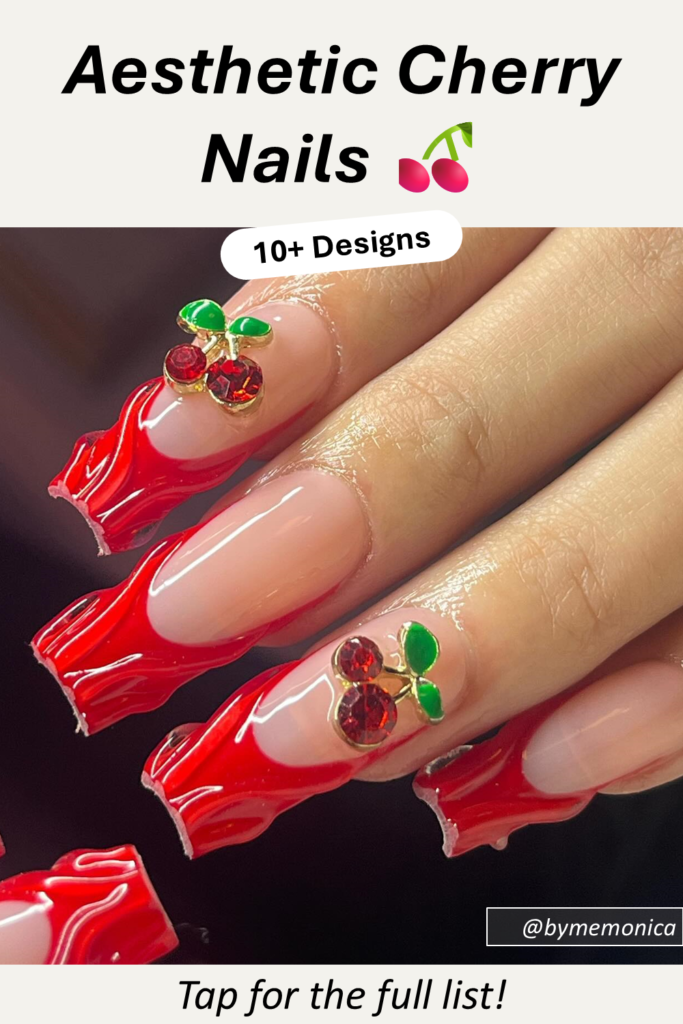
📌 Are you on Pinterest? Save this post for later! Pin the image below so you’ll always have cherry nail inspiration at your fingertips.
And if you want even more beauty & style inspo, don’t forget to follow me on Pinterest.com/bymemonica 💕 I share daily outfit ideas, nail designs, and easy styling tips you’ll love.
💅 Have fun trying your favorite cherry manicure and make your nails the cutest accessory this season! 🍒
Leave a Reply